احصائيات المدونة
ple way for creating a super glossy reflective text effect, and adding a nice texture for a more futuristic look.
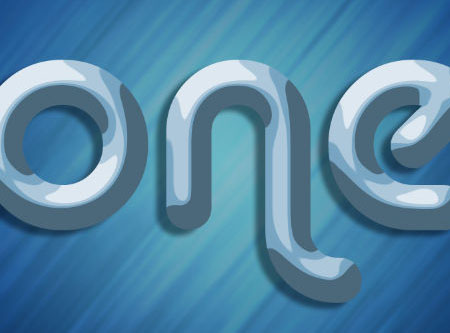
The Final Result:

Notes:
* the software used in this tutorial is Adobe Photoshop CS5 Extended
* the size of the final result image is 1024 * 768
* you might want to check the Basix Page to see some useful topics on dealing with Photoshop basics, such as loading palettes and some shortcuts.
Resources:
Step 1:
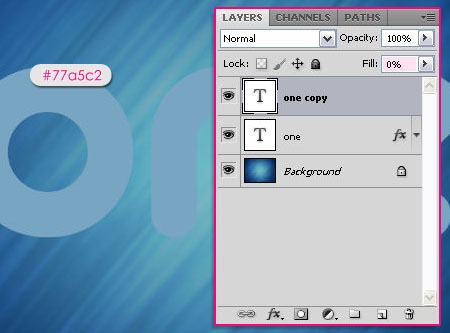
- Open the Background Image, and create your text using the color #77a5c2. The font used is Alba, and the size is 500px.
Duplicate the text layer, and change the copy’s Fill value to 0.
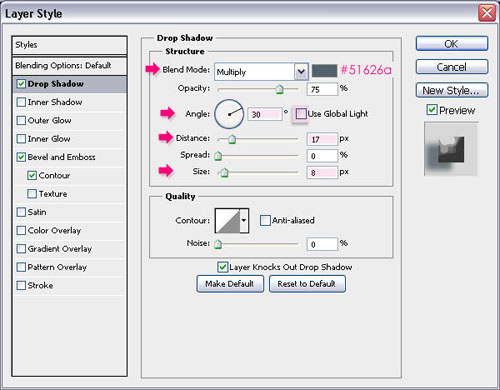
- Double click on the original text layer and apply the following styles:
-Drop Shadow: Change the color to #51626a, remove the check next to Use Global Light and change the Angle to 30. Also, change the Distance to 17 and the Size to 8.
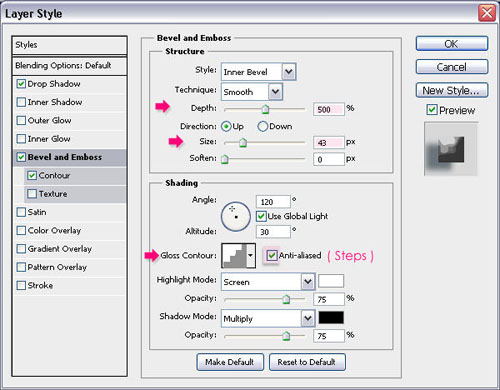
- Bevel and Emboss: Change the Depth to 500, the Size to 43, and the Gloss Contour to Steps. Check the Anti-aliased box for a smoother result.
- Contour: Choose Half Round, and check the Anti-aliased box as well.
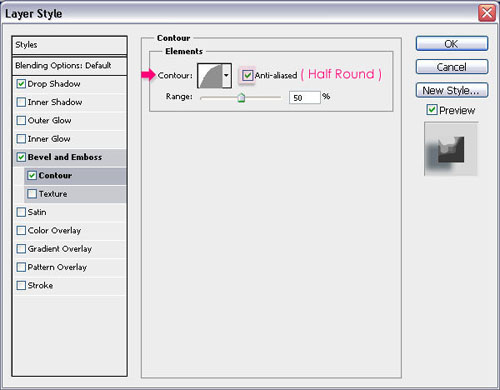
The result should look like this.
Step 2:
Double click on the copy text layer to add another layer style:
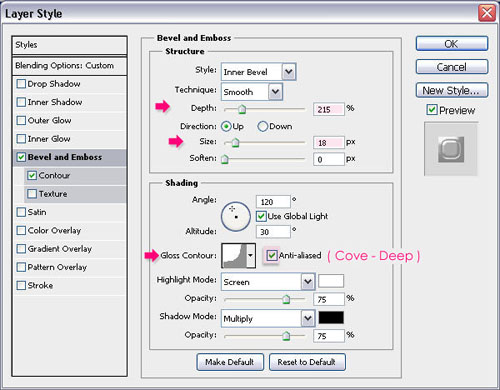
- Bevel and Emboss: Change the Depth to 215, the Size to 18, the Gloss Contour to Cove – Deep, and check the Anti-aliased box.
- Contour: Choose Steep Slope – Rolling, and check the Anti-aliased box.
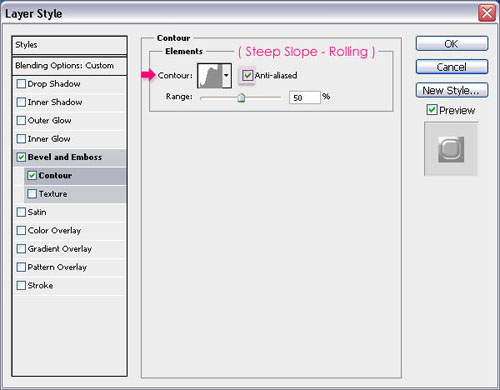
The text should look more glossy now, and even more reflective.

Step 3:
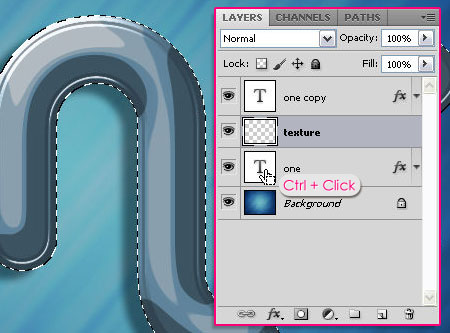
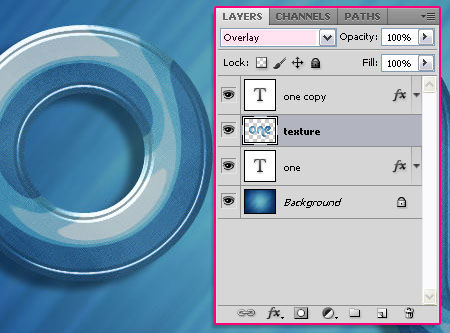
- Create a new layer between both text layers and call it “texture”. Press the Ctrl key and click on one of the text layers icon to create a selection.
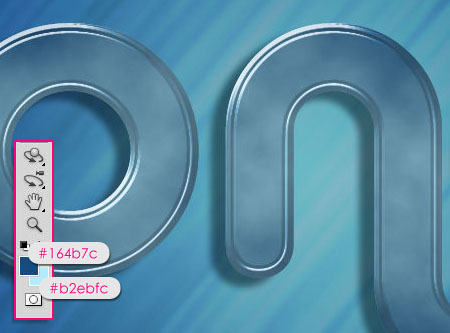
- Set the Foreground color to #164b7c and the Background color to #b2ebfc. Go to Filter -> Render -> Clouds. Then press Ctrl + D to get rid of the selection.
- Go to Filter -> Brush Strokes -> Crosshatch, and change the Stroke Length to 50, the Sharpness to 20, and the Strength to 1.

You should get a similar texture to this.

- Finally, change the “texture” layer Blend Mode to Overlay.
This is the final result.
هذا تطبيقي
الاشتراك في:
تعليقات الرسالة (Atom)
ترجمني translate me
by : arab-alrab7on

0 التعليقات:
إرسال تعليق